- this menu requires access rights assigned in the User Setup.
The Excel File Import - this option is very useful and very powerful. It can eliminate much data entry if done properly! But there are many required formats and parameters that must be followed. Be sure to make the proper choices. An incorrect choice could inadvertently remove debts or duplicate existing debts. Someone with an understanding of the Excel data and layout needs to be involved until the process becomes very familiar.
The Clearinghouse strongly suggests you submit the Excel file to us (through our secure website, NOT via email) so we can view it and ensure it meets all the proper requirements. We would also recommend you allow us to connect to your workstation and assist with the import. We do this for some local governments as often as every two weeks.
- this menu requires access rights assigned in the User Setup.
 - it is recommended each time before an Excel Import to make a backup of your data PRIOR to the Excel import. In addition you should run a Summary Report so you can review the totals before and after to be sure the import was successful.
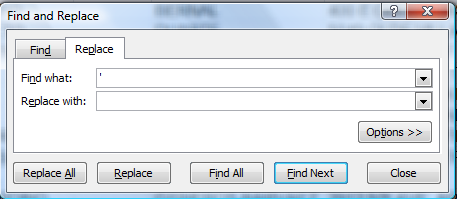
 - be sure there are no single or double quotes in the excel file as they will cause a severe error and will not import, thus a waste of time and resources. Some examples are names such as O'Neal and O'Brien, along with addresses such as 1234 Smiley's Chase Road.
Before Attempting the Import:
Requirements:
- Layout must match exactly, including header row
- Be sure to copy ONLY columns A-Q of the sample Excel file to your Excel file
- You cannot add additional columns, column Q must be the final column
 - the Clearinghouse can connect remotely to your computer and instruct on the proper methods and options using these powerful software functions. It is highly recommended the first time in executing an Import that the Clearinghouse be involved.
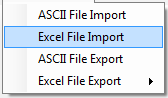
1. From the Main Menu click Import/Export:

2. Move the mouse over Excel File Import and click this option:
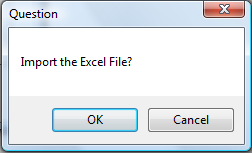
3. The following appears:
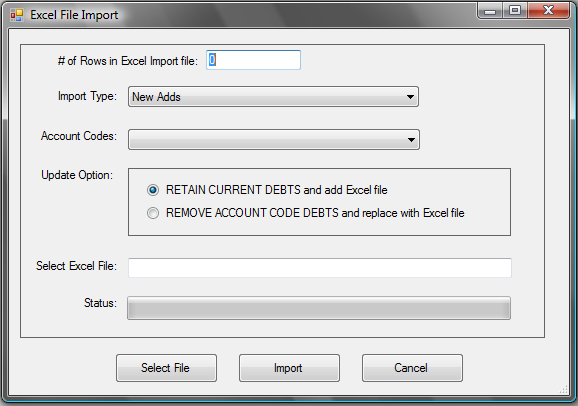
4. Enter the 
- be sure that this number matches the row number of the last debt in the excel file to be imported. If you put a number that is less than the actual number of rows in your excel import file, you will not be loading the entire file but only the number entered in this prompt. To be sure you imported every excel row, check the total debt amount in the excel import file against the report that is created during this import.
5. Click the  down arrow for the following options:
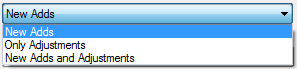
6. Click the  down arrow for the following options:
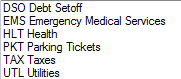
- only the account codes you have access to will appear. The Excel import file must have the same three character code in the Account Code/Department , in column "O"
7. Click the desired Account Code
8. Click the Update Option:

- Retain Current Debts and add the Excel file - keeps all debts and just adds the debts in the import Excel file
- Remove All Current debts and replace with the Excel file - removes all debts with the Account Code selected and imports the debts in the import file.
- when doing this option you will lose some reporting and historical information on the debts that were removed, even if they are in the Excel file to be imported with the same Unique key
- The Setoff report is one that cannot be regenerated
- this option should be for a major correction of an entire account code or when a vendor/third-party administrator generates an updated file which has balances that were adjusted from previous setoffs
9. Click  and find the file in the folder on the workstation or network, such as:
10. Click  for the following:
10. Select one of the two options:
- Click
to initiate to process and continue
- Click
to abort and return back to the Main Menu
11. If the ASCII import layout meets the EXACT layout required, then the following appears:
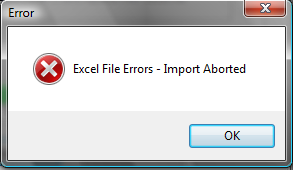
- The entire file was NOT imported
- Make the corrections to meet the required layout and retry
- Some of the possible errors:
- SSN is not nine digits
- First Name is empty
- Last Name is empty
- Invalid Expiration Date - not MM/DD/YYYY format, such as a February 29 and not a leap year or a day of 31 in a month with less days
12. If the Import was successful, a report of the Import Totals appear:

- Click
for the following:
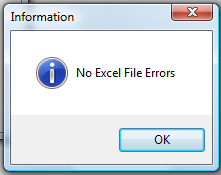
13. A detailed report of the errors appear, if none the report is blank such as below:

- Click
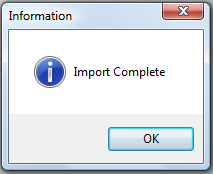
14. When the import excel file is finished importing the following appears:
15. Click to return to the main menu: